If you’ve ever wandered the bakery aisle dreaming of flaky, buttery pastries filled with rich, creamy cheese, then this guide to making the perfect Cheese Danish is just what you need. This delightful treat combines a tender, golden pastry crust with a smooth and tangy cream cheese filling, creating a mouthwatering balance of textures and flavors that will have you reaching for seconds. Whether you’re baking for breakfast, a special brunch, or a sweet snack, mastering this classic Cheese Danish recipe will turn your kitchen into a cozy bakery filled with irresistible aromas.
Why You’ll Love This Recipe
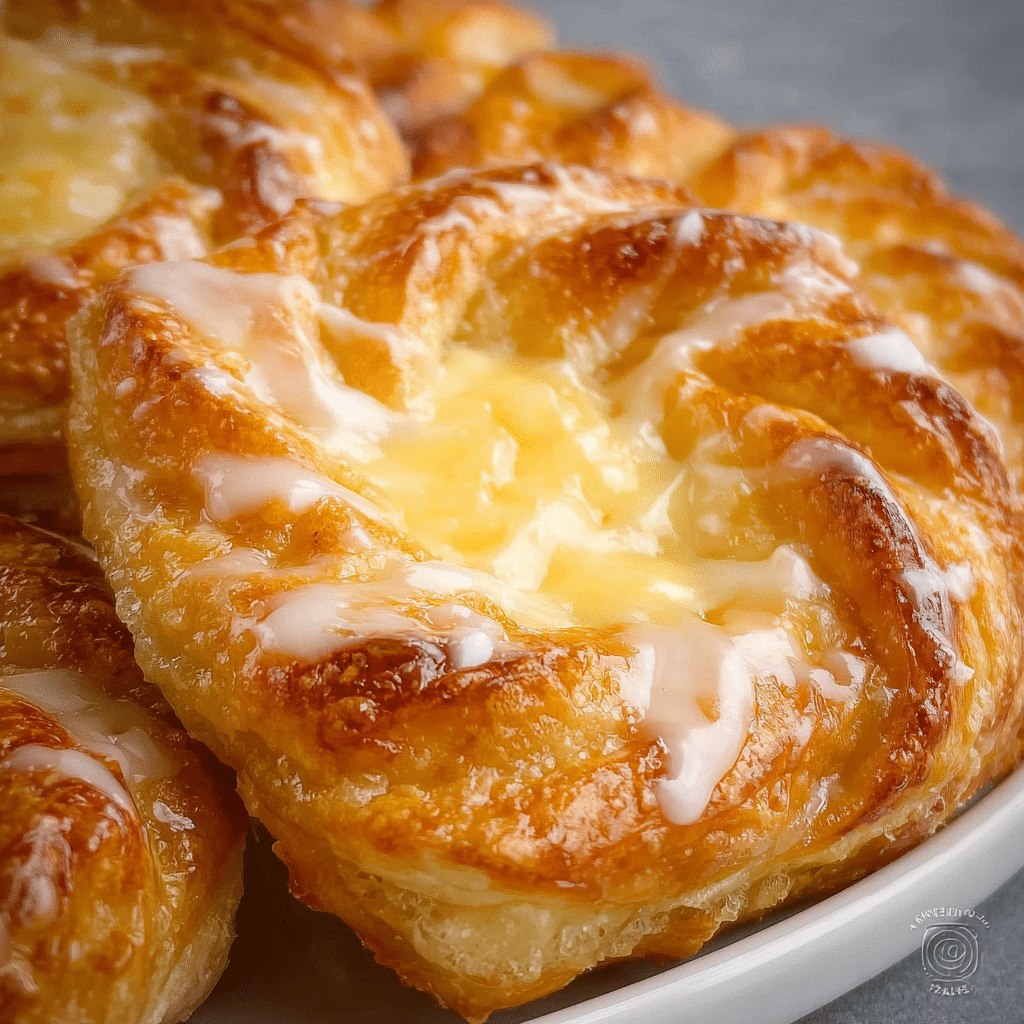
- Flaky, buttery crust: Delivers the perfect light and crisp texture that holds the creamy filling beautifully.
- Creamy cheese filling: Offers a rich, slightly tangy flavor that complements the pastry perfectly.
- Simple ingredients: Uses everyday pantry staples without compromising on flavor or quality.
- Customizable: Easy to adapt with fruit twists or dietary swaps for exactly what you crave.
- Impresses every time: Gorgeous presentation that looks professionally made, even if it’s your first try.
Ingredients You’ll Need
Each ingredient in this Cheese Danish recipe plays a crucial role — from building the flaky layers of the pastry to creating that luscious cheese filling. They’re simple, straightforward items you might already have, making this recipe perfect for any home baker.
- Flour: The foundation for the pastry’s structure, choose all-purpose for a tender yet sturdy dough.
- Butter: Provides the signature richness and flaky layers, so use high-quality unsalted butter chilled.
- Sugar: Adds just enough sweetness to balance the tanginess in the cheese filling and the crust.
- Cream cheese: The star of the filling, it should be softened for the smoothest texture.
- Eggs: Bind the filling ingredients and give the pastry a beautiful golden color when baked.
- Vanilla extract: Enhances the flavor of the filling with warm, aromatic notes that delight the palate.
- Lemon zest (optional): Adds a fresh, citrusy brightness that cuts through the richness.
- Milk or cream: Ensures a velvety consistency in the cheese filling without making it runny.
Variations for Cheese Danish
One of the best things about the Cheese Danish is how easy it is to tweak so it suits your taste buds perfectly. Whether you want to add a fruity layer, make it dairy-free, or add a crunchy topping, the possibilities are endless and simple to execute.
- Fruit flavors: Add fresh berries, apricot preserves, or sliced apples atop the cheese filling for a fruity twist.
- Nutty crunch: Sprinkle chopped almonds, pecans, or walnuts for an added texture contrast.
- Dairy-free option: Substitute cream cheese and butter with vegan alternatives to keep it plant-based.
- Glaze variations: Drizzle with a simple powdered sugar glaze or a tangy lemon icing to finish.
- Spices: Mix cinnamon or cardamom into the filling for warmth and depth of flavor.

How to Make Cheese Danish
Step 1: Prepare the Dough
Start by mixing the flour and cold cubed butter together using a pastry cutter or your fingers until the mixture resembles coarse crumbs—this helps create those signature flaky layers later. Gradually add cold water to bring the dough together, avoiding overmixing to keep it tender.
Step 2: Chill and Roll Out
Wrap the dough in plastic wrap and chill for at least 30 minutes. This resting time lets the butter firm up. Then, roll the dough out on a floured surface into a rectangle roughly 12×8 inches, ready for folding and layering.
Step 3: Fold and Layer
Fold the dough like a letter, roll it out again, and repeat this process two to three more times, chilling between folds if needed. This lamination technique builds the delicious layers that puff and flake in the oven.
Step 4: Prepare the Cream Cheese Filling
In a bowl, beat softened cream cheese with sugar, egg yolk, vanilla extract, and a splash of milk or cream until silky smooth. For an extra zing, add fresh lemon zest to brighten the flavor.
Step 5: Assemble the Cheese Danish
Cut the dough into squares or rectangles and gently lift the edges, folding or shaping them to create a little pocket for the filling. Spoon a generous dollop of the cream cheese mixture into the center of each piece.
Step 6: Bake Until Golden
Place the assembled Danish pastries on a lined baking sheet and bake in a preheated oven at 375°F (190°C) for 18-22 minutes, or until the pastry is puffed and beautifully golden brown around the edges.
Step 7: Add Final Touches
Once cool, you can brush with a light apricot glaze or dust with powdered sugar for an elegant finish that adds shine and sweetness.
Pro Tips for Making Cheese Danish
- Use cold ingredients: Keep your butter and water cold to achieve the flakiest layers possible.
- Don’t overwork the dough: Mix just until combined to avoid tough pastry.
- Rest between folds: Chilling the dough during lamination prevents butter from melting and keeps layers distinct.
- Even filling distribution: Use a piping bag for neat dollops of cream cheese that won’t spill over while baking.
- Egg wash for shine: Brush the pastry edges with beaten egg for a glossy, appealing crust.
How to Serve Cheese Danish
Garnishes
Top your Cheese Danish with a simple dusting of powdered sugar, a drizzle of vanilla or lemon glaze, or even some fresh berries to add color and contrast.
Side Dishes
A Cheese Danish pairs wonderfully with fresh fruit, a cup of strong coffee, or a latte for a perfect breakfast or brunch duo that feels indulgent yet balanced.
Creative Ways to Present
Arrange Danish pastries on a rustic wooden board alongside small bowls of fruit jams, whipped cream, and nuts to create a stunning dessert or brunch spread that invites everyone to dig in.
Make Ahead and Storage
Storing Leftovers
Store leftover Cheese Danish in an airtight container at room temperature for up to 2 days to keep the crust crisp and the filling fresh.
Freezing
Freeze individual Danish pieces wrapped tightly in plastic wrap and foil for up to 3 months. Thaw overnight in the fridge, then reheat gently before serving.
Reheating
Warm your Cheese Danish in a preheated oven at 350°F (175°C) for 5 to 10 minutes to revive that fresh-baked crispness without drying out the filling.
FAQs
Can I use store-bought puff pastry for Cheese Danish?
Absolutely! Store-bought puff pastry is a great shortcut and saves time while still delivering delicious flaky layers perfect for a Cheese Danish.
What type of cream cheese is best for the filling?
Use full-fat cream cheese for the richest, creamiest filling, and make sure it’s softened to room temperature for easy mixing.
Can I make Cheese Danish vegan?
Yes, you can substitute vegan cream cheese and plant-based butter in both the filling and dough, though the texture might differ slightly.
How can I prevent the filling from leaking during baking?
Use a thickened filling and a piping bag to control portion size; also, fold the dough edges securely around the filling without overfilling.
Is it possible to add fruit fillings to the Cheese Danish?
Definitely! Mixing in or topping with fruits like blueberries, cherries, or apricot jam adds a lovely natural sweetness and flavor dimension.
Final Thoughts
Making the perfect Cheese Danish at home is a rewarding experience that fills your kitchen with warmth and inviting aromas. This recipe’s balance of flaky pastry, creamy filling, and easy customization options means it’s sure to become a favorite go-to treat for breakfast or dessert. So roll up your sleeves, try the steps, and get ready to enjoy your very own bakery-quality Cheese Danish anytime you like!