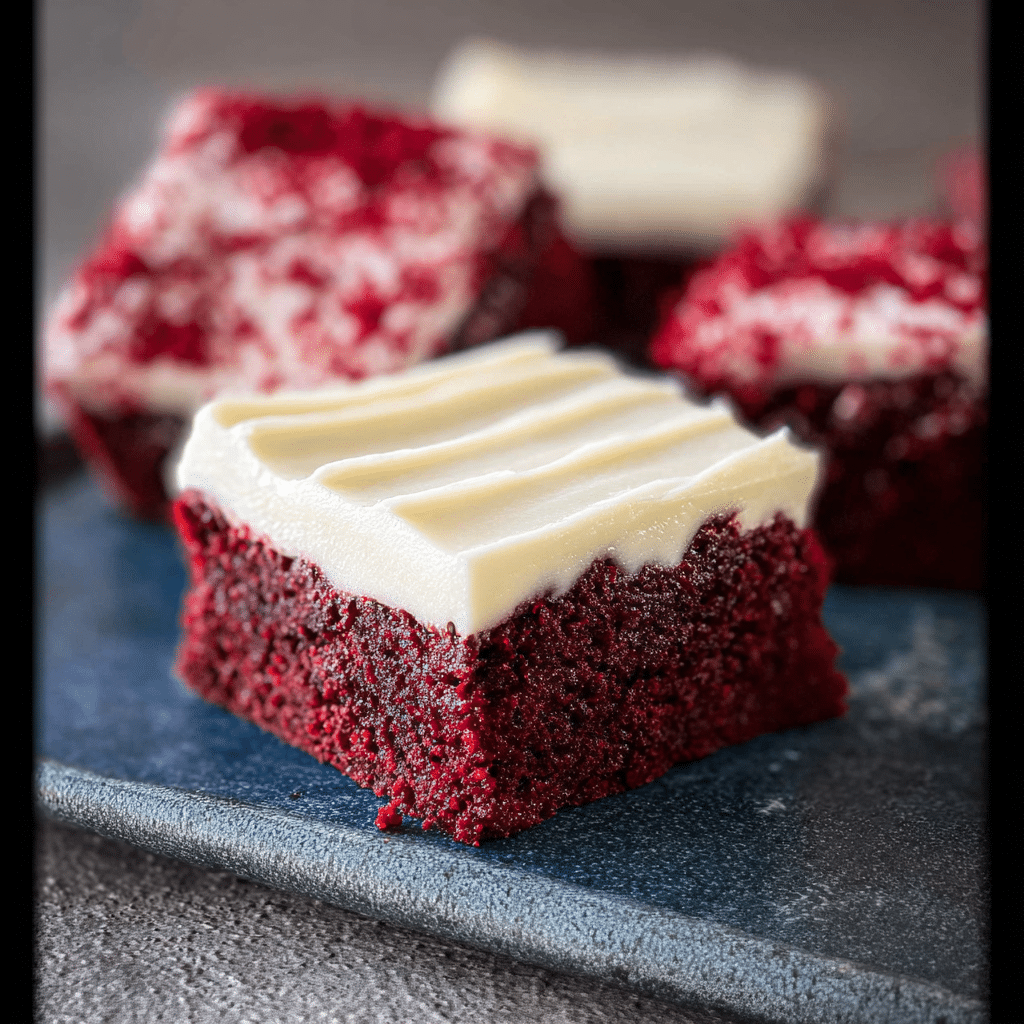
If you’re craving something that’s both decadent and delightfully tangy, these Red Velvet Brownies with Cream Cheese Frosting are exactly what you need. Imagine rich, moist, fudgy brownies with that beloved red velvet flavor, perfectly balanced by a smooth and creamy cream cheese frosting that adds just the right hint of sweetness and tang. This recipe is not only a feast for your taste buds but also a showstopper for any occasion, combining classic flavors in a way that’s simple to make yet irresistibly delicious.
Why You’ll Love This Recipe
- Unique flavor combo: The blend of chocolate and subtle cocoa with the distinct red velvet tang creates a one-of-a-kind dessert experience.
- Moist and fudgy texture: These brownies are rich without being dry, delivering the perfect bite every time.
- Simple ingredients: Using common pantry staples keeps the recipe accessible and straightforward.
- Versatile dessert: These brownies work wonderfully for parties, holidays, or a sweet everyday treat.
- Easy to customize: You can easily tweak flavors, frostings, or toppings to make it your own signature dessert.
Ingredients You’ll Need
Each ingredient in this recipe plays a crucial role in creating the perfect Red Velvet Brownies with Cream Cheese Frosting. From the rich cocoa powder to the tangy cream cheese, every item contributes to the texture, flavor, and vibrant color that make this dessert stand out.
- Unsweetened cocoa powder: Adds that deep chocolate flavor essential to red velvet.
- All-purpose flour: Provides structure and balance between fudgy and cakey textures.
- Sugar: Granulated sugar sweetens the base while ensuring moisture.
- Butter: Melted butter creates richness and fudginess throughout the brownies.
- Eggs: Eggs bind everything together and introduce a tender crumb.
- Buttermilk: Brings tang and moistness, enhancing the signature red velvet taste.
- Red food coloring: Gives that iconic, vibrant red hue synonymous with red velvet desserts.
- Vanilla extract: Balances flavors with a sweet, aromatic finish.
- Baking powder: Keeps the brownies just airy enough without losing their dense texture.
- Salt: Enhances all the flavors, making each bite perfectly balanced.
- Cream cheese: For the frosting’s creamy, tangy base.
- Powdered sugar: Sweetens the frosting while contributing to its smooth texture.
- Heavy cream or milk: Adjusts frosting consistency for easy spreading.
Variations for Red Velvet Brownies with Cream Cheese Frosting
This recipe is wonderfully versatile, so don’t hesitate to make it your own! Whether you’re adjusting for dietary preferences, adding a twist, or simply experimenting with flavors, these variations are easy to implement and will keep your brownies exciting every time.
- Nutty delight: Add chopped pecans or walnuts into the batter for a crunchy surprise.
- Chocolate swirl: Mix melted dark chocolate into the cream cheese frosting for a marbled effect.
- Vegan option: Substitute eggs with flax eggs and use dairy-free cream cheese and butter alternatives.
- Extra fudge: Incorporate chocolate chips into the batter for pockets of melted goodness.
- Spiced twist: Add a pinch of cinnamon or cayenne pepper to give a warming depth to the flavor.

How to Make Red Velvet Brownies with Cream Cheese Frosting
Step 1: Prepare Your Ingredients
Gather and measure all your ingredients accurately. Preheat your oven to 350°F (175°C) and grease or line your baking pan with parchment paper to ensure easy removal later.
Step 2: Mix the Dry Ingredients
In a medium bowl, whisk together the flour, cocoa powder, baking powder, and salt. This creates an even distribution of leavening and flavor throughout the batter.
Step 3: Combine Wet Ingredients
In a separate large bowl, beat the butter and sugar until smooth and creamy. Add eggs one at a time, followed by buttermilk, vanilla extract, and red food coloring. Mix well to ensure the vibrant red color sets in perfectly.
Step 4: Incorporate Dry Ingredients
Gently fold the dry mixture into the wet ingredients until just combined. Avoid overmixing to keep the brownies tender and moist.
Step 5: Bake the Brownies
Pour the batter into your prepared pan and smooth the top. Bake for 25 to 30 minutes or until a toothpick inserted near the center comes out with a few moist crumbs. Allow the brownies to cool completely before frosting.
Step 6: Make the Cream Cheese Frosting
In a bowl, beat cream cheese and butter until fluffy. Gradually add powdered sugar and a splash of heavy cream or milk until you reach smooth, spreadable consistency. Optionally, add a drop of vanilla extract.
Step 7: Frost and Serve
Spread the cream cheese frosting evenly over cooled brownies. Cut into squares and serve. Enjoy the balance of rich red velvet and creamy frosting in every bite!
Pro Tips for Making Red Velvet Brownies with Cream Cheese Frosting
- Room temperature ingredients: Ensure eggs and butter are at room temperature to create a smoother batter.
- Do not overbake: Pull brownies from the oven when a toothpick has moist crumbs to keep them fudgy.
- Use high-quality cocoa: A rich cocoa will deepen the red velvet flavor dramatically.
- Chill the frosting: If the cream cheese frosting feels too soft, refrigerate it slightly before spreading.
- Color balance: Use gel food coloring for a vibrant red without altering the batter consistency.
How to Serve Red Velvet Brownies with Cream Cheese Frosting
Garnishes
Enhance presentation with a light dusting of cocoa powder, a scattering of crushed nuts, or even a few fresh raspberries to add a pop of color and fresh flavor contrast against the creamy frosting.
Side Dishes
Pair these brownies with a scoop of vanilla ice cream or a dollop of whipped cream to elevate the dessert experience, balancing warmth and cold.
Creative Ways to Present
Serve the brownies on a decorative platter layered with doilies or parchment for rustic charm, or arrange individual squares in mini cupcake liners for a party-friendly treat that’s easy to grab and go.
Make Ahead and Storage
Storing Leftovers
Store any leftover Red Velvet Brownies with Cream Cheese Frosting in an airtight container in the refrigerator for up to five days to keep them fresh and the frosting stable.
Freezing
You can freeze unfrosted brownies wrapped tightly in plastic wrap and aluminum foil for up to three months; thaw completely before frosting to maintain the best texture.
Reheating
Warm refrigerated brownies briefly in the microwave (about 10 seconds) or at room temperature before serving for a soft, fresh-from-the-oven feel without melting the frosting.
FAQs
Can I use regular milk instead of buttermilk?
Yes, you can substitute buttermilk with regular milk mixed with a tablespoon of lemon juice or vinegar to mimic the tang and acidity that buttermilk provides.
How do I prevent the cream cheese frosting from being too runny?
Make sure your cream cheese and butter are well chilled before mixing, and gradually add liquid only as needed to reach spreadable consistency.
Can I make this recipe gluten-free?
Absolutely. Replace the all-purpose flour with a gluten-free baking blend that includes xanthan gum to maintain structure and texture.
What if I don’t have red food coloring?
While the red color is iconic, you can skip it or use natural alternatives like beet juice powder to achieve a gentle hue.
How thick should the cream cheese frosting layer be?
The frosting should be spread in a smooth, even layer about 1/4 inch thick to provide a creamy balance without overpowering the brownie base.
Final Thoughts
These Red Velvet Brownies with Cream Cheese Frosting are a cosmic blend of flavor and texture, perfect for any occasion that calls for a heartwarming, nostalgic dessert. Whether you’re a baking beginner or a seasoned pro, this recipe invites you to indulge in something rich, vibrant, and utterly comforting. So go ahead, grab your ingredients, and treat yourself and your loved ones to this unforgettable sweet experience.