If you’re craving a dessert that brings together flaky, buttery perfection with a burst of sweet and tart, look no further than this Cherry Pie with Homemade Crust recipe. This classic favorite features a golden, tender crust made from scratch paired with a juicy cherry filling that’s perfectly balanced in flavor and sweetness. Whether you’re baking for a holiday, celebration, or just because, this cherry pie will quickly become your go-to dessert that impresses every time.
Why You’ll Love This Recipe
- Flaky homemade crust: Crafted from simple ingredients, the crust offers a buttery, melt-in-your-mouth texture you just can’t get from store-bought options.
- Vibrant cherry filling: Using fresh or frozen cherries, this filling bursts with tartness balanced by natural sweetness for an irresistible bite.
- Easy to customize: The straightforward base makes it a breeze to add your twist, whether that’s a lattice top, almond flavor, or a splash of vanilla.
- Perfect for any occasion: Whether it’s a family dinner, picnic, or festive holiday, this pie fits right in and steals the spotlight.
- Made with wholesome ingredients: No preservatives or artificial flavorings here, just honest, fresh good stuff.
Ingredients You’ll Need
Every ingredient in this Cherry Pie with Homemade Crust is chosen not only for flavor but also for how it builds texture, aroma, and that classic pie goodness. Here’s what you need to get started:
- All-purpose flour: The foundation for the crust, providing structure while allowing flakiness when properly mixed with fat.
- Cold unsalted butter: Chilled and cut into small pieces, butter creates that tender, flaky crust we all love.
- Granulated sugar: Adds subtle sweetness to balance the tartness of the cherries in both crust and filling.
- Salt: Enhances the overall flavors and cuts through sweetness to create depth.
- Ice-cold water: Helps bring the dough together without melting the butter, keeping it flaky.
- Fresh or frozen tart cherries: The star of the filling, delivering juicy bursts of flavor and beautiful color.
- Cornstarch: Thickens the cherry filling to prevent it from being runny while keeping it glossy.
- Lemon juice: Brightens the filling with a fresh note that balances the sweetness perfectly.
- Vanilla extract: Adds warmth and enhances the cherry flavor elegantly.
- Optional cinnamon or almond extract: For a hint of spice or nuttiness that pairs beautifully with cherries.
Variations for Cherry Pie with Homemade Crust
One of the best parts about this Cherry Pie with Homemade Crust recipe is how adaptable it is. Feel free to play around with the ingredients or techniques to create your perfect pie experience.
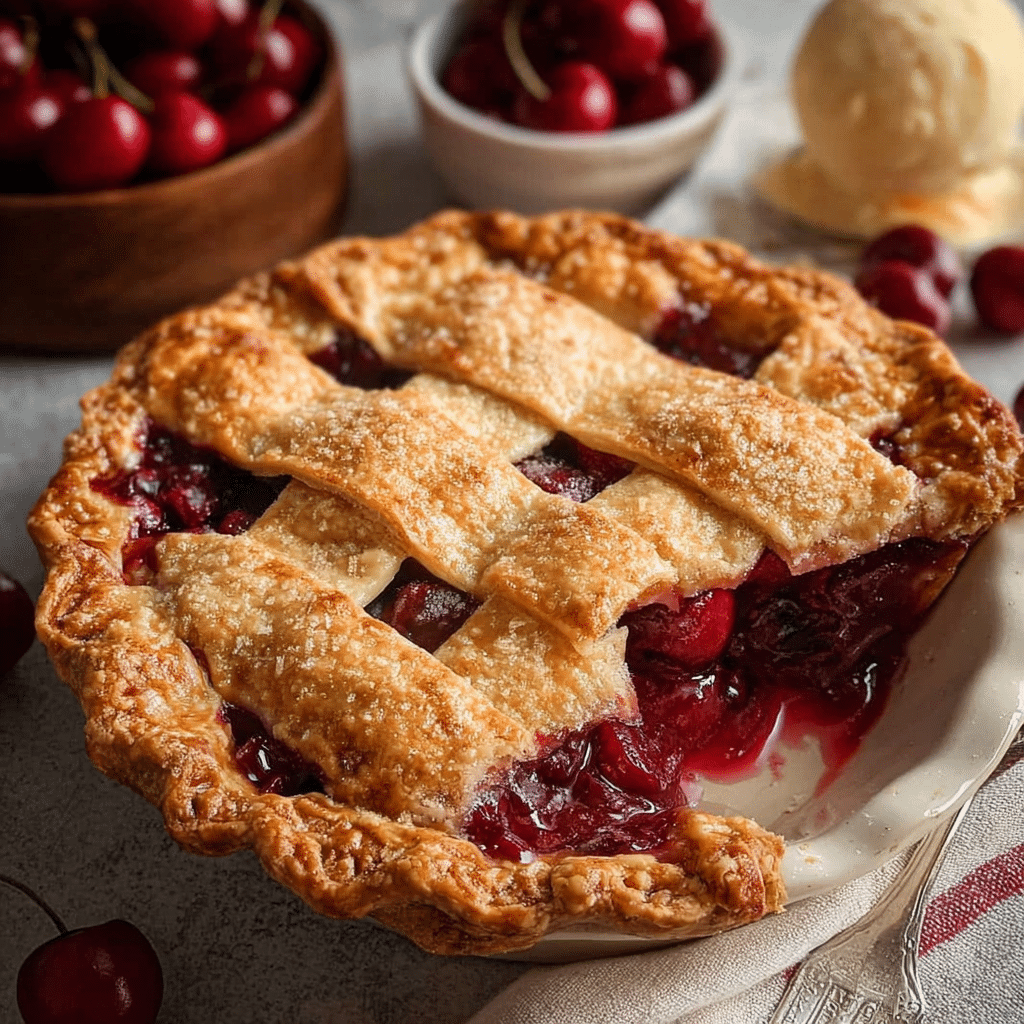
- Lattice crust: Swap out the solid top for a woven lattice to showcase those luscious red cherries inside.
- Gluten-free crust: Use a gluten-free flour blend to keep the pie accessible to all dietary needs without sacrificing texture.
- Almond cherry pie: Add almond extract to the filling and sprinkle sliced almonds on top for extra crunch and flavor.
- Brown sugar substitute: Use brown sugar in the crust or filling for a deeper, caramel-like sweetness.
- Spiced filling: Incorporate cinnamon, nutmeg, or allspice for a warm, cozy twist.

How to Make Cherry Pie with Homemade Crust
Step 1: Prepare the crust dough
Combine all-purpose flour, sugar, and salt in a large bowl. Cut in cold, unsalted butter until the mixture resembles coarse crumbs. Gradually add ice-cold water, mixing gently until the dough just comes together. Divide into two balls, flatten into discs, wrap, and refrigerate for at least 1 hour.
Step 2: Make the cherry filling
In a saucepan, combine fresh or frozen cherries with sugar, cornstarch, lemon juice, and vanilla extract. Cook over medium heat, stirring constantly, until the mixture thickens and becomes glossy. Remove from heat and let cool completely.
Step 3: Roll out the crust
On a lightly floured surface, roll out one dough disc into a circle large enough to fit your pie pan. Carefully transfer it into the pan, pressing gently to fit the bottom and sides without stretching.
Step 4: Add the filling
Pour the cooled cherry filling evenly into the prepared crust. Spread it gently, ensuring an even layer of cherries.
Step 5: Top crust and seal
Roll out the second dough disc and either lay it solid over the filling or create a lattice top. Trim excess dough and pinch edges to seal securely. Cut small vents if using a solid top crust to allow steam to escape.
Step 6: Bake to golden perfection
Preheat your oven to 375°F (190°C). Place the pie on a lower rack with a baking sheet underneath to catch drips. Bake for 45-55 minutes or until the crust is golden brown and the filling is bubbling. Let cool completely before serving.
Pro Tips for Making Cherry Pie with Homemade Crust
- Keep ingredients cold: Chilling your butter and water ensures a flaky crust by preventing premature butter melting.
- Don’t overwork the dough: Mix it just enough so the dough holds together to avoid a tough crust.
- Blind bake for extra crispness: Partially bake the bottom crust before adding filling for a less soggy base.
- Use room temperature filling: Add cooled cherry filling to the crust to prevent melting your top crust dough.
- Let the pie cool well: This helps the cherry filling set firmly for clean slices and perfect presentation.
How to Serve Cherry Pie with Homemade Crust
Garnishes
A scoop of vanilla ice cream or a dollop of whipped cream pairs wonderfully with the warm, tart cherry filling and flaky crust. For an extra festive touch, sprinkle freshly chopped almonds or a dusting of cinnamon sugar on top.
Side Dishes
Serve this cherry pie after a hearty meal alongside fresh fruit or a light salad to balance richness. It also pairs nicely with a warm cup of coffee or tea, making it a delightful ending to any gathering.
Creative Ways to Present
Try mini individual pies baked in ramekins for personal servings, or top your slice with a drizzle of chocolate sauce or a sprinkle of toasted coconut to surprise and delight your guests.
Make Ahead and Storage
Storing Leftovers
Cover your leftover cherry pie tightly and refrigerate for up to four days. This allows the filling to soak into the crust, intensifying flavor while preserving freshness.
Freezing
Wrap your cooled pie securely in plastic wrap and aluminum foil before freezing. You can keep it frozen for up to 2 months. Thaw overnight in the refrigerator before reheating or serving.
Reheating
Warm slices gently in a 350°F oven for about 10-15 minutes to bring back that freshly baked aroma and flaky texture without drying out the pie.
FAQs
Can I use frozen cherries instead of fresh for the filling?
Absolutely! Frozen cherries work wonderfully and often provide a more consistent tartness year-round. Just make sure to thaw and drain excess liquid before cooking.
How do I keep the crust from getting soggy with a juicy filling?
Blind baking the bottom crust briefly and ensuring the filling is cooled before adding helps maintain a crisp barrier between crust and fruit.
Is it possible to make this pie vegan or dairy-free?
Yes! Substitute butter with vegan margarine or coconut oil, and use a plant-based sugar if needed. The texture changes slightly but remains delicious.
Can I make the crust ahead of time and freeze it?
You can prepare the dough in advance, freeze it wrapped tightly for up to a month, then thaw overnight in the refrigerator before rolling out.
What’s the secret to the perfect flaky crust?
Keep everything cold, handle the dough gently, and allow it to rest in the fridge — these steps create the classic flaky layers everyone loves.
Final Thoughts
There is nothing quite like the comforting aroma and delightful taste of a perfectly baked Cherry Pie with Homemade Crust fresh out of the oven. This recipe combines the best of tradition and simplicity, inviting you to bake a dessert that warms the heart and satisfies the sweet tooth. So go ahead, gather your ingredients, and treat yourself and your loved ones to this irresistible homemade classic — you won’t regret it.